Changing Brake pads in multi-pot calipers Brembo w/ “upper axle”
I would like to tell you how to change brake pads in multipot calipers Brembo w/ “upper axle” correctly..
Good day to You!
“We are responsible for those that we are domesticated” as we say in Russia.
🙂
I would like to tell You how to change brake pads in multipot caliper Brembo with an “upper axle” correctly.
The sequence of actions is very important.
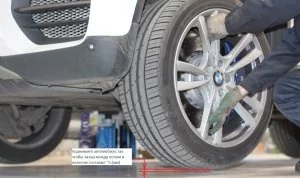
1.Lift the car up in a way that the wheel is roughly 5 mm off the floor, unscrew wheel’s screws and shift the wheel towards yourself.
This simple rule minimizing the chances to hit the caliper with the wheel’s disc.
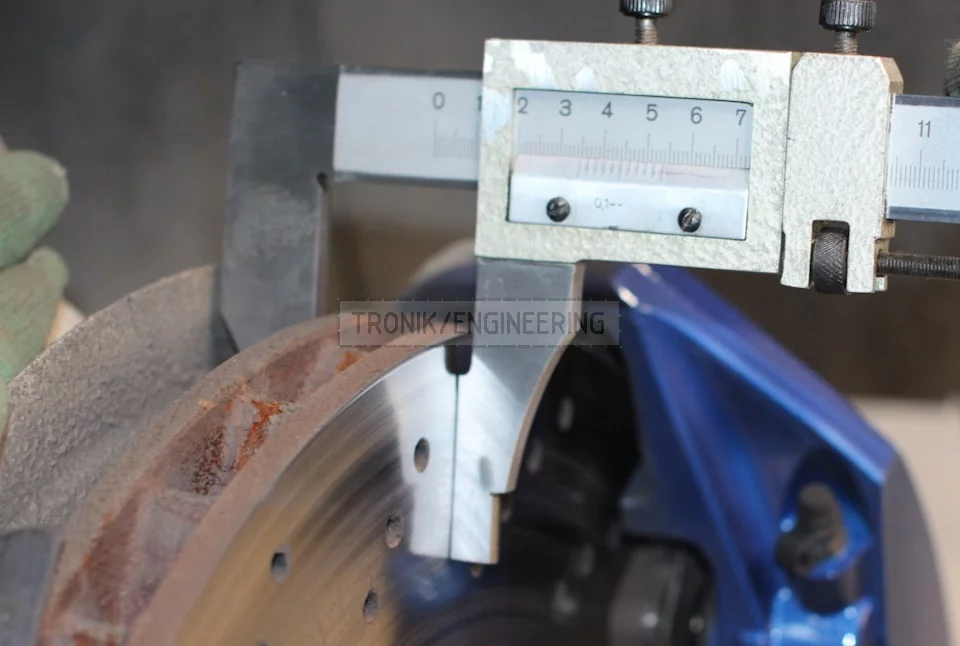
2. Measure the thickness of the brake pad.
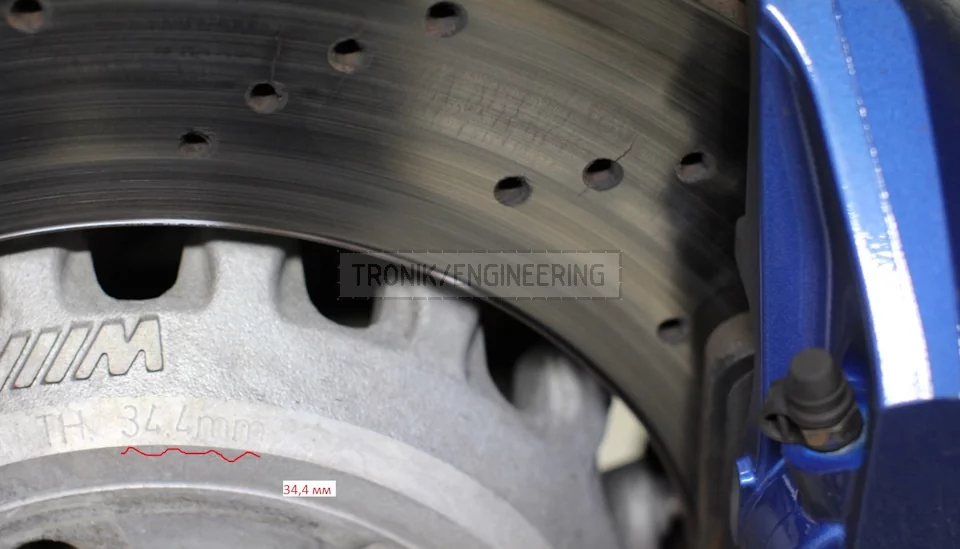
There is usually a minimum allowed thickness marked on the hat.
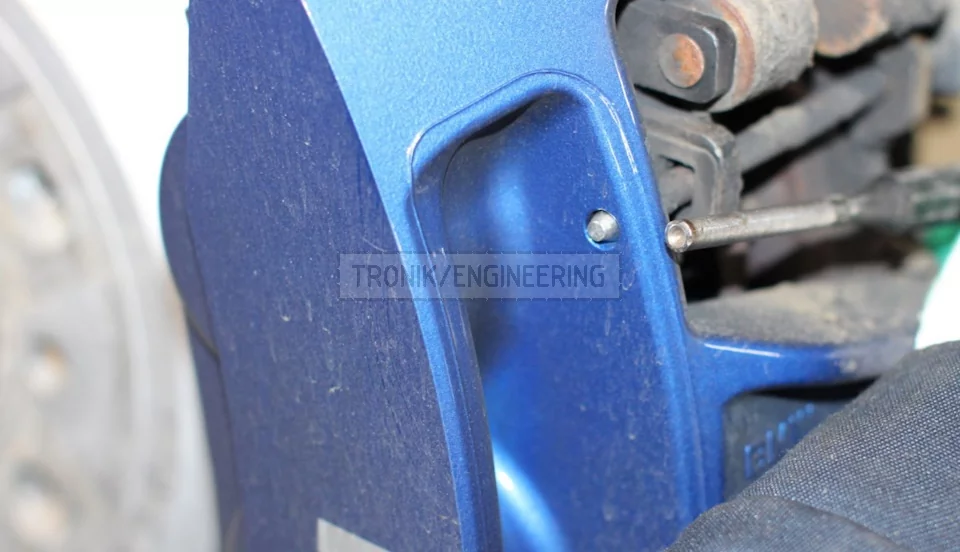
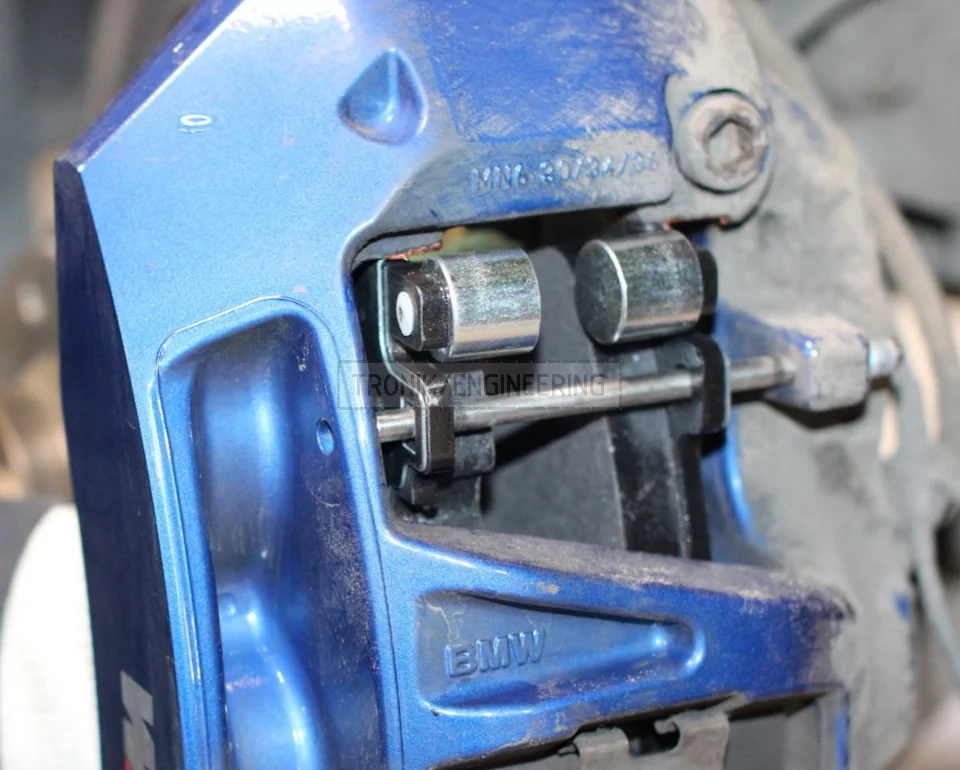
3. Setscrew for newbies usually becomes a huge problem.
Allen key’s sides would get torn no doubt, if You don’t give a good knock on it!
2-3 good hits and You would be able to unscrew it by hand!
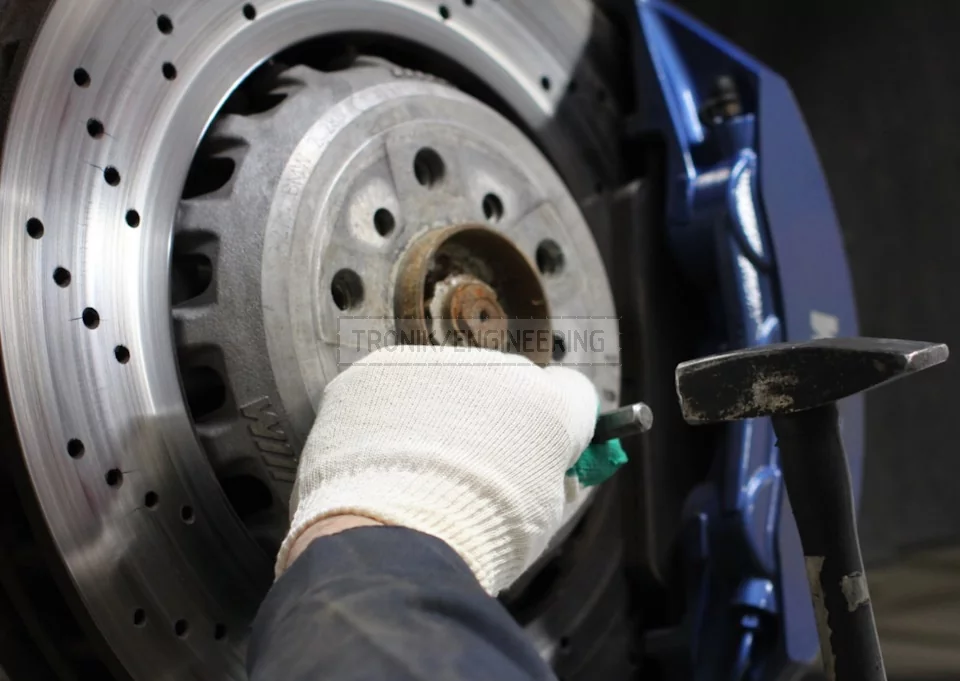
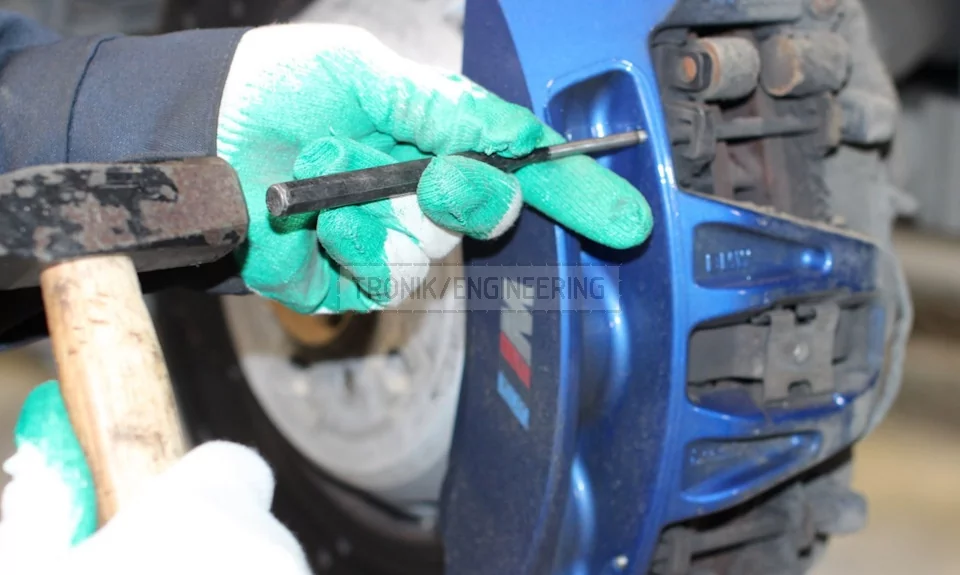
5. For knocking out the pins to be more comfortable it’s a good idea to get drilled in into the drift punch, and better do it in a lathe.
Knocking the pins out by about 10-15 mm, and then press on the pads and pull the pins out.
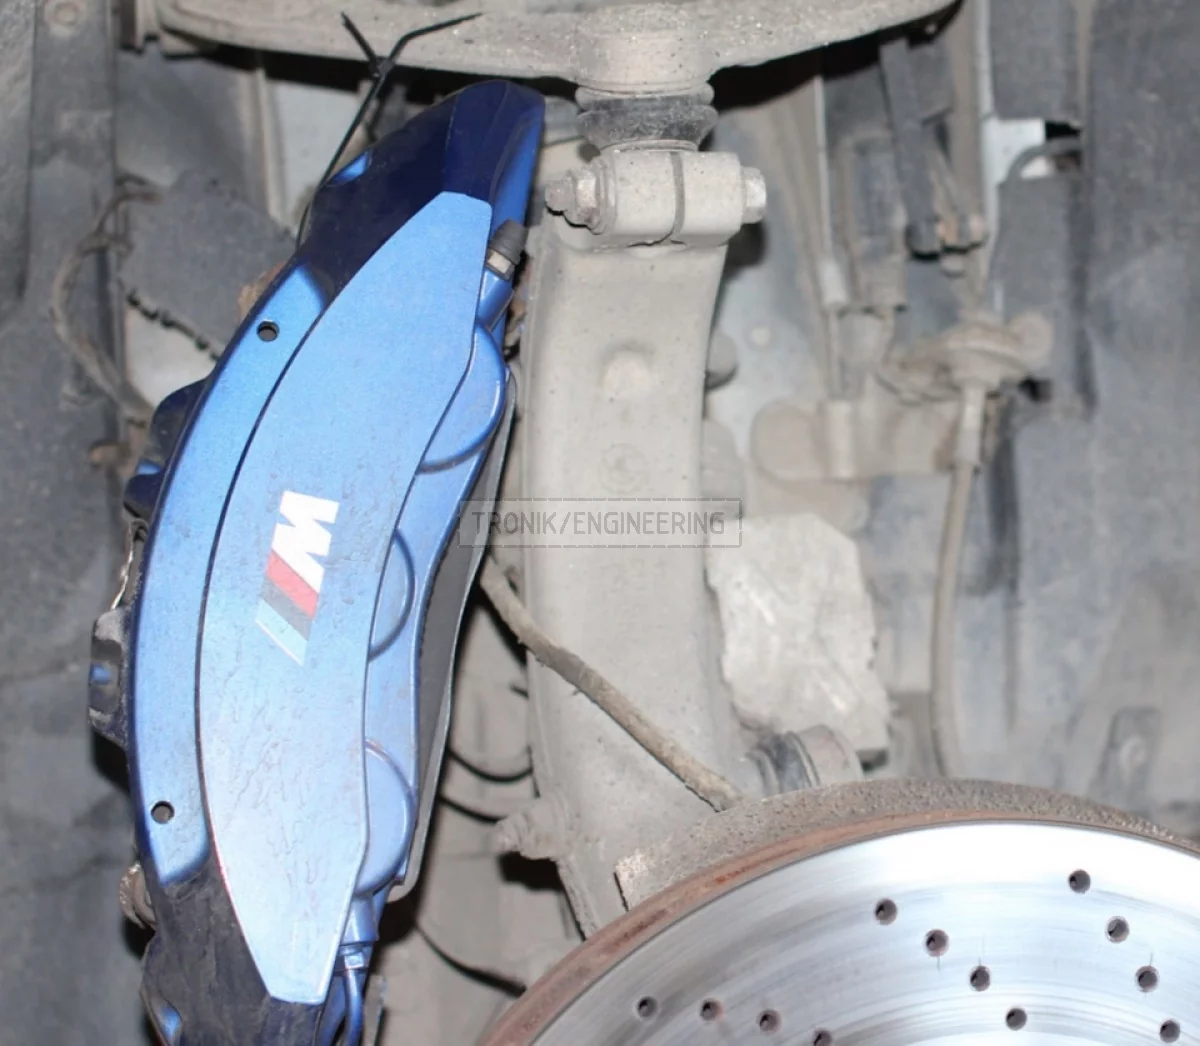
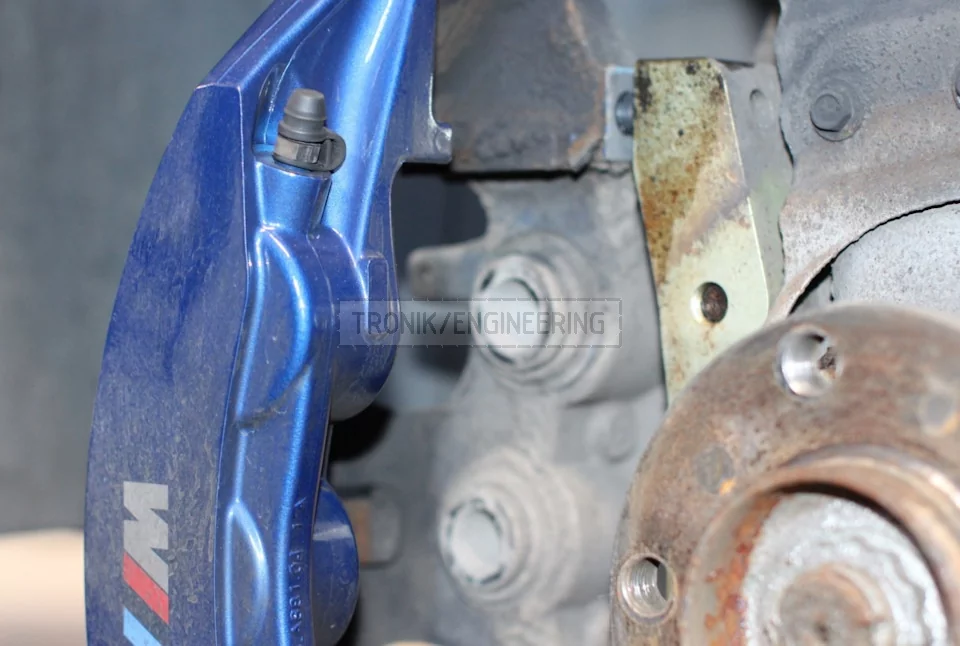
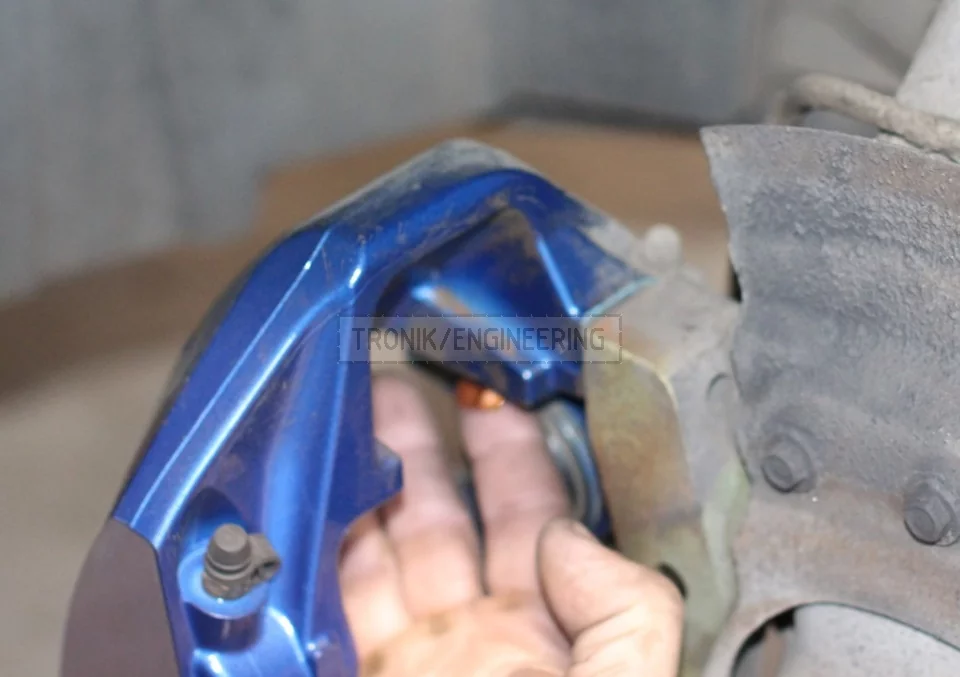
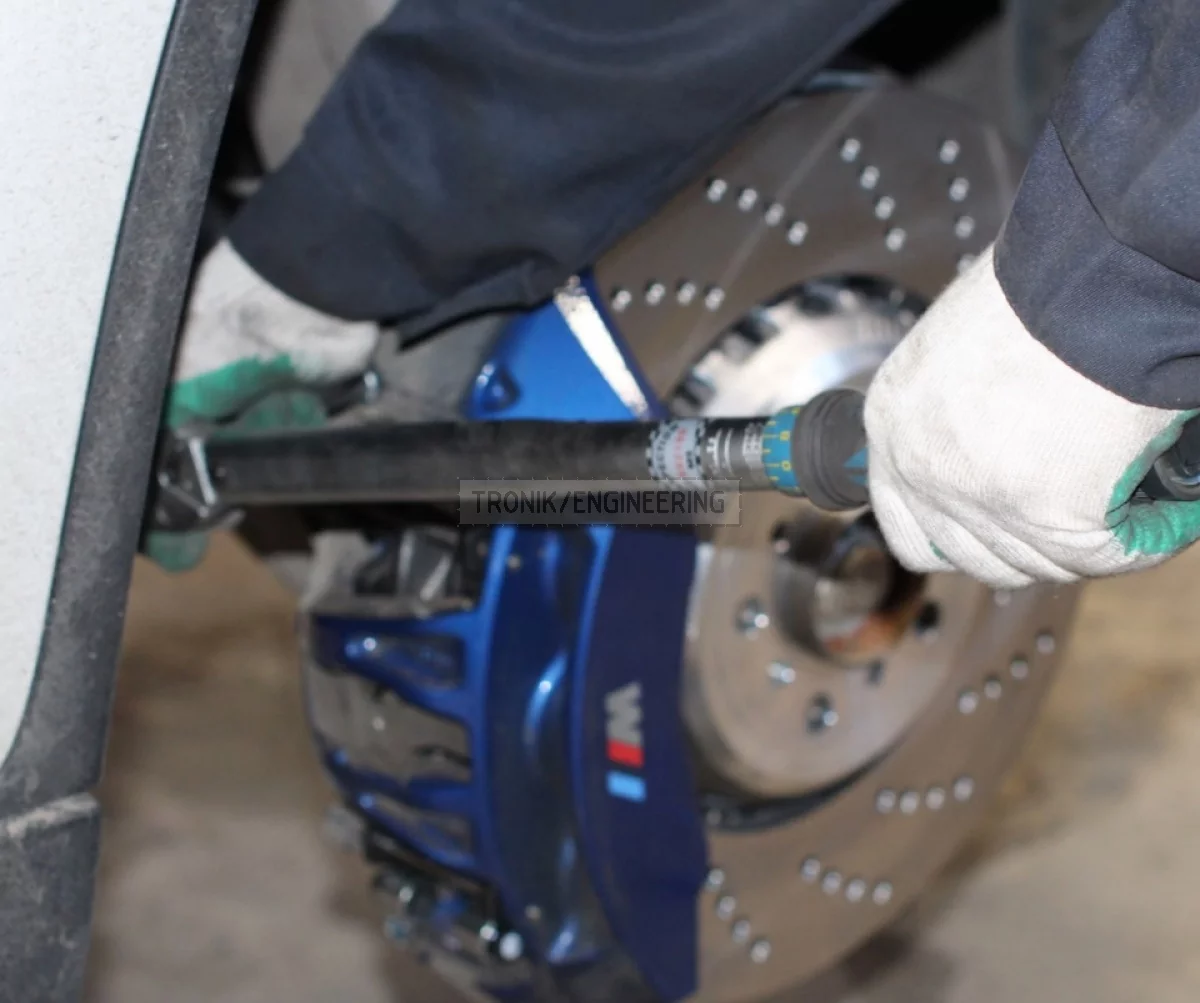
6. Unscrew the radial mount screws, pulling out the brake pads and hang the caliper on a prepared ahead of time plastic fixture.
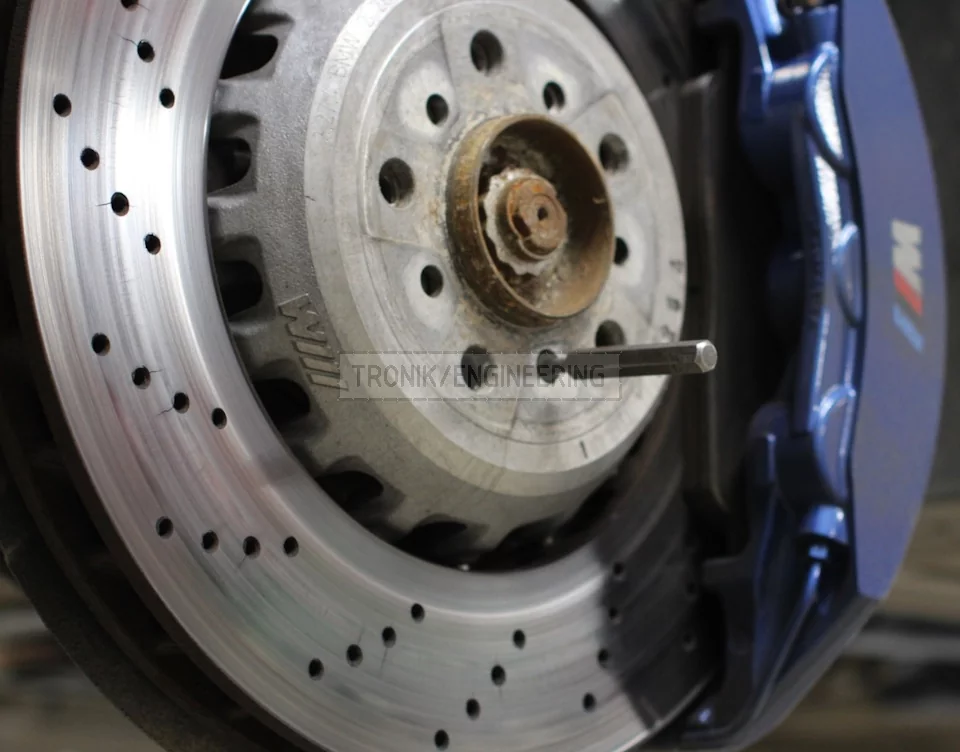
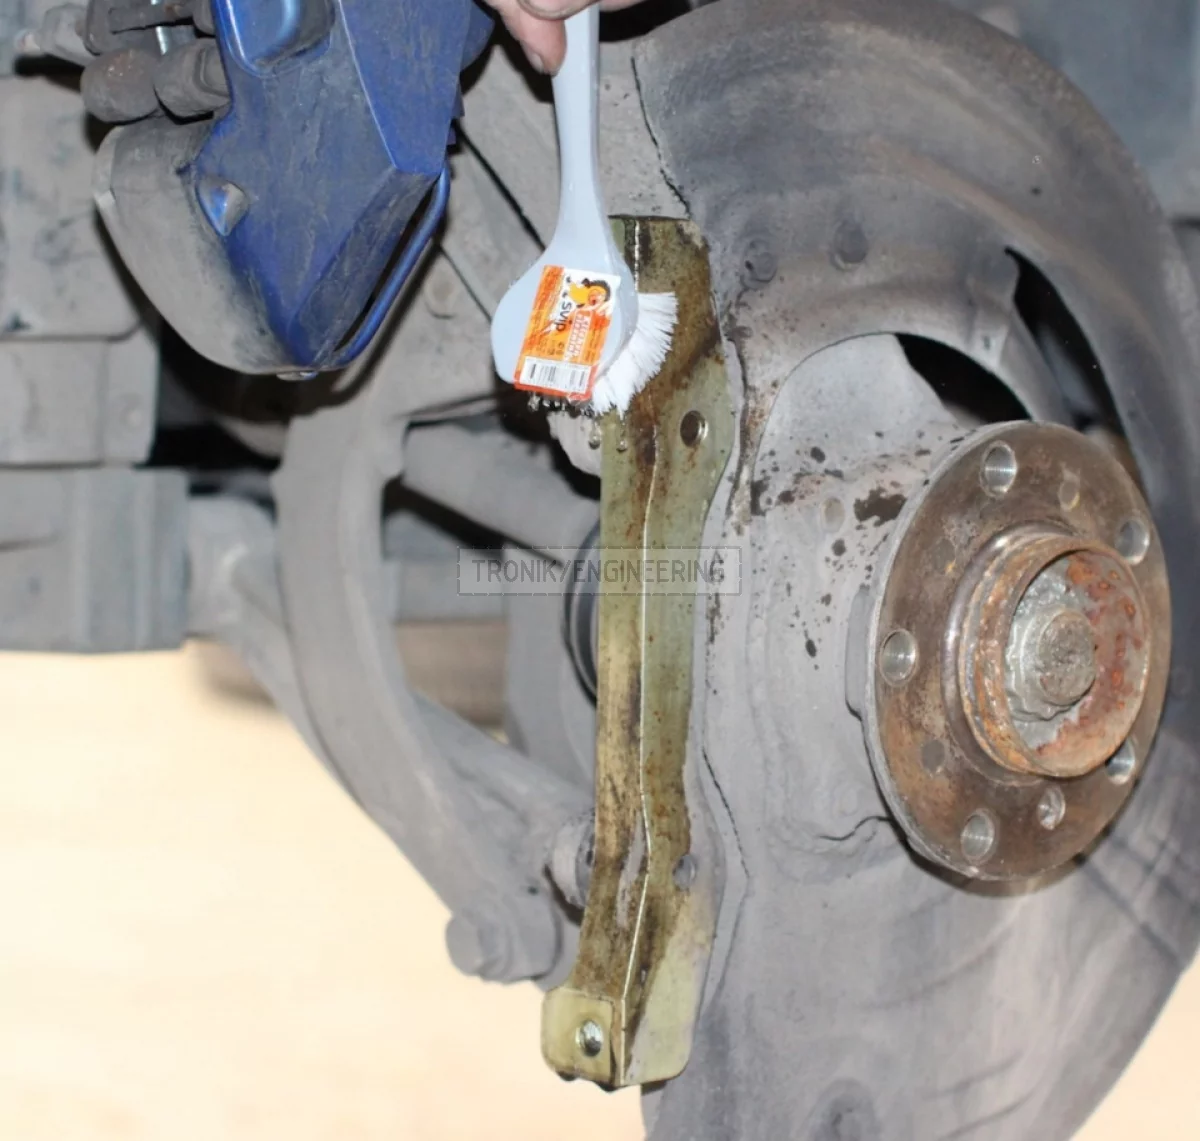
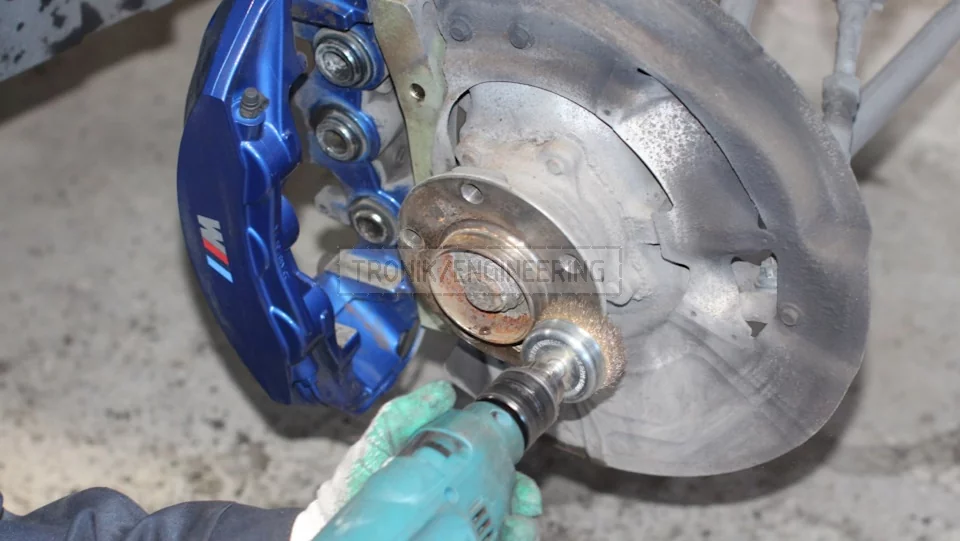
7. You need to clean off the bracing plane and thread parts, and then wash and blow dry them.
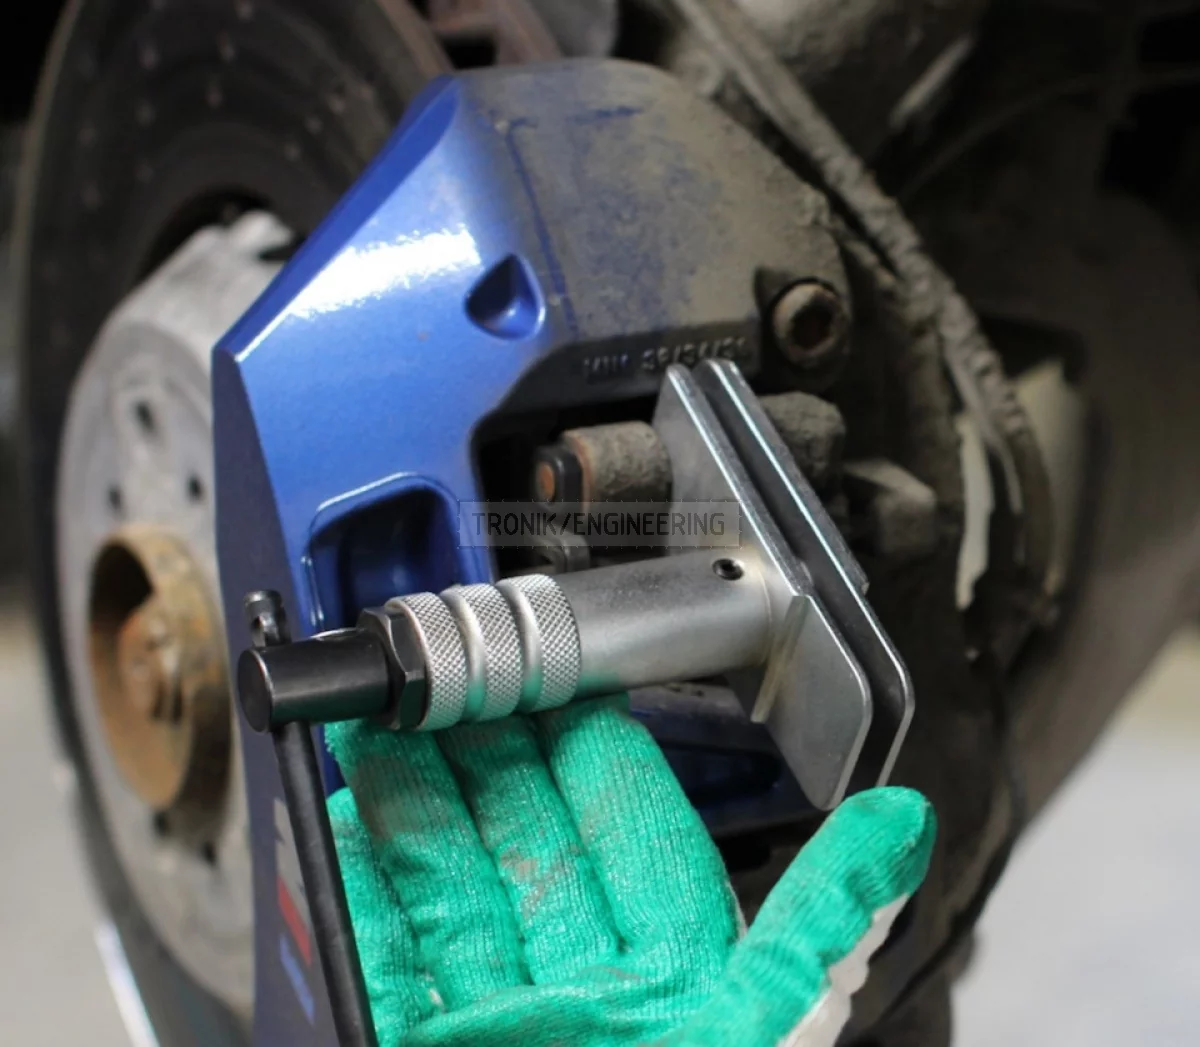
8. Uninstall the brake pad and fix the caliper on the adapter.
9. The caliper inspection proves that we do not live in California.. dust cup coated with 3 mm of dirt…
Now we know why we shouldn’t completely mount brake pads at the first step of this process (sinking the pistons).
Clean off and blow pistons’ straps, bracing planes, the spring and the pins.
Every other brake pads’ change it is recommended to install new pins and a spring.
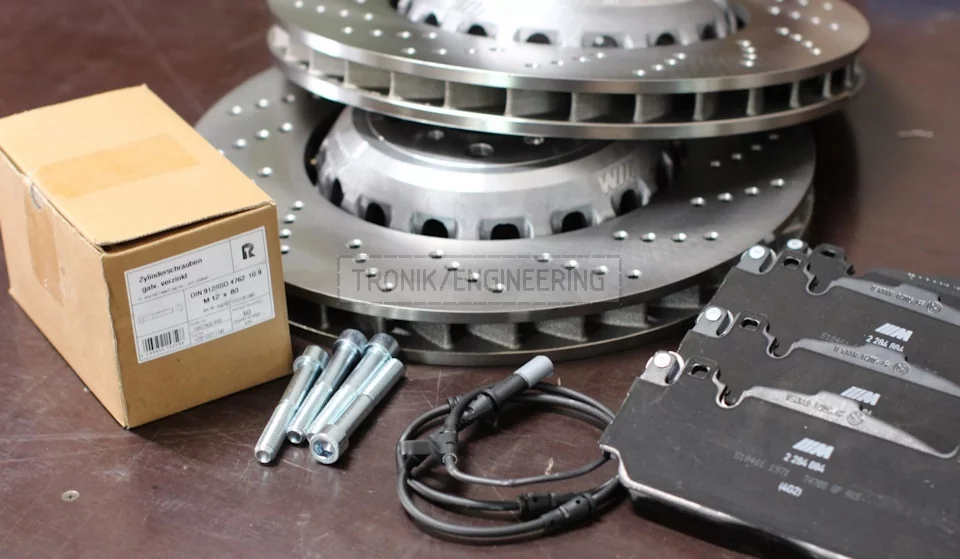
10. Consumables are prepared ahead of time and waiting for us.
11. The hat must be degreased and skived.
12. Bracing planes pad/caliper should be coated with high temperature paste.
Put in the brake pads and pins. Hammer in the pins into the caliper up until that specific click.
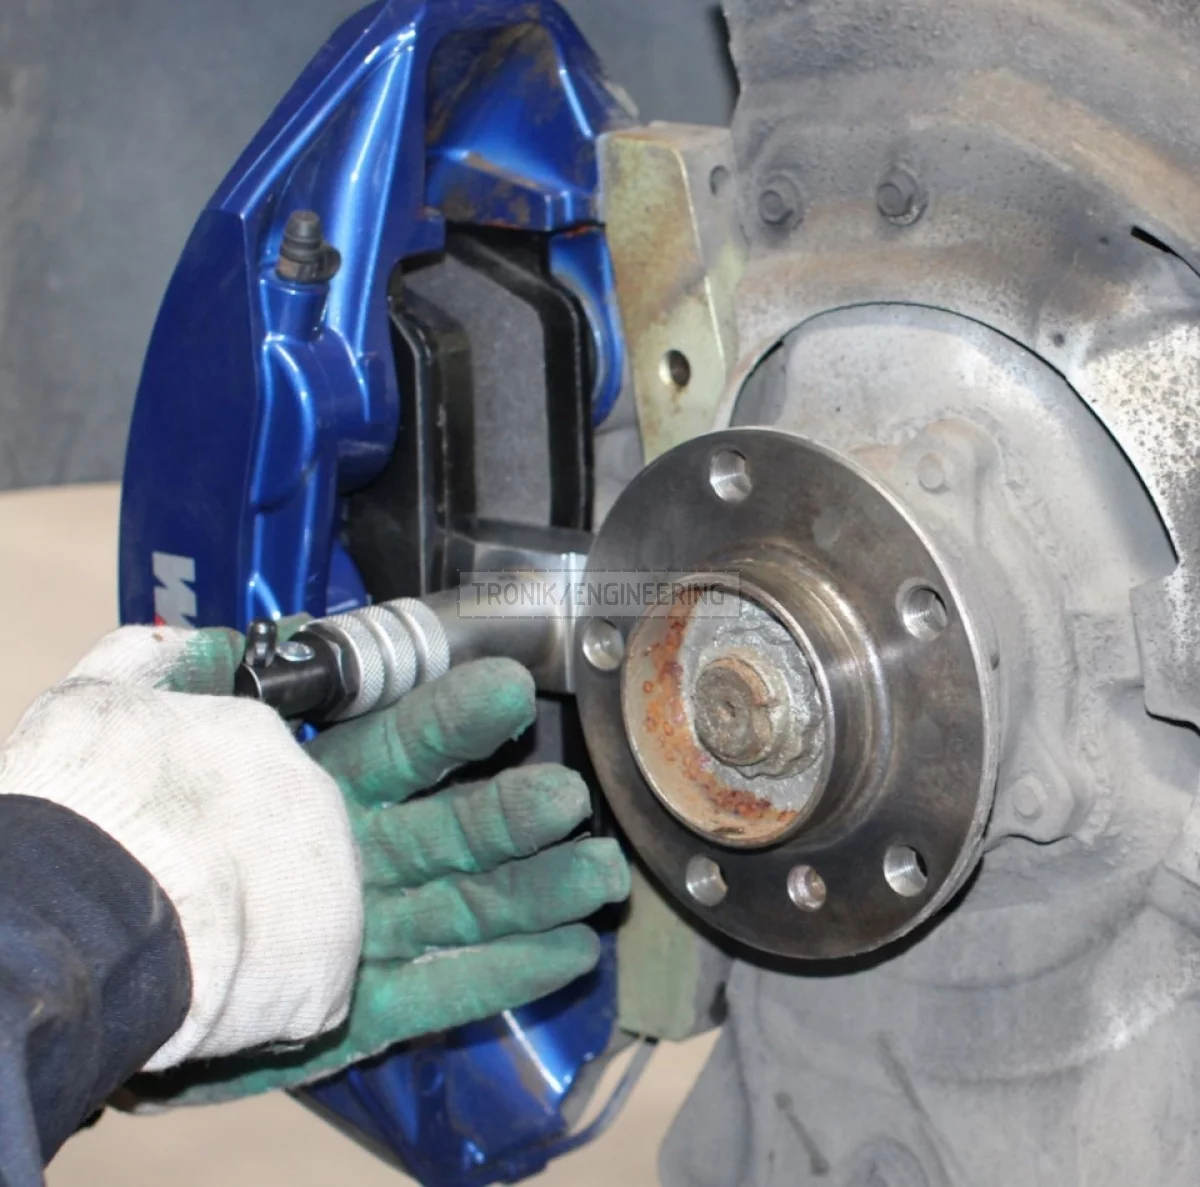
13. With a special equipment we mount the brake pads, though not forgetting to monitor brake fluid in the surge tank. We install the brake pad and latch it on with the setscrew.
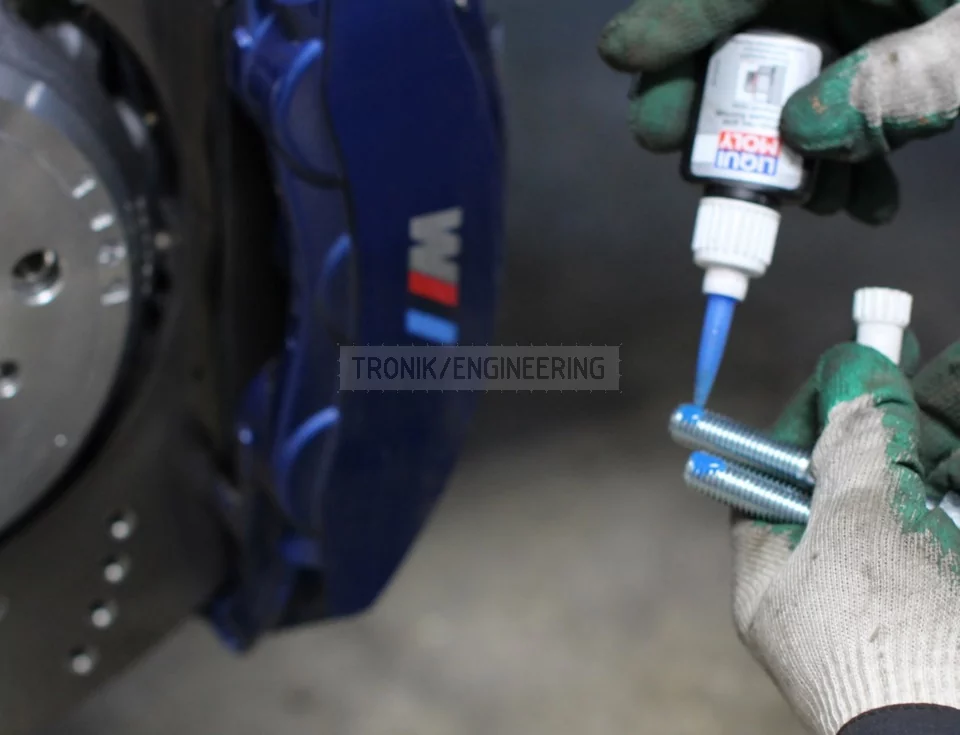
14. Onto the radial screws we apply a drop of a medium strength threadlocker each.
15. Moment of М12 tightening (hardness 10,9) ~ 110 Н*М
16. On the cylinder part ot the hat we apply little bit of a high temperature paste, changing the wear sensor.
17. Letting the car down in the way that the “dressed” wheel’s disc is about 5 mm off the floor.
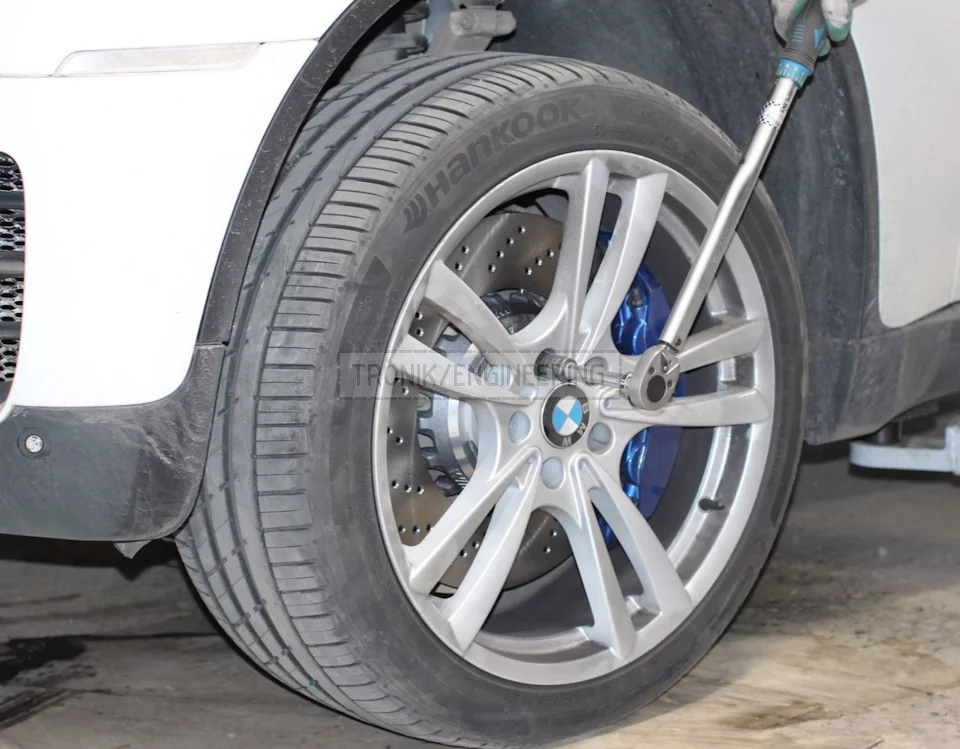
Now we only need to slide the wheel on without damaging the paint and varnish coating of the caliper.
Tightening screws М14-1,25 torque ~140 Н*М.
18. And the MOST IMPORTANT!
Without starting the engine press the brake pedal and check the brake fluid level.
Changing brake fluid once a year Motul DOT 5.1
